Files
Introduction
Clicking on the option displays a page related to saving or loading a composition file (extension .brp).
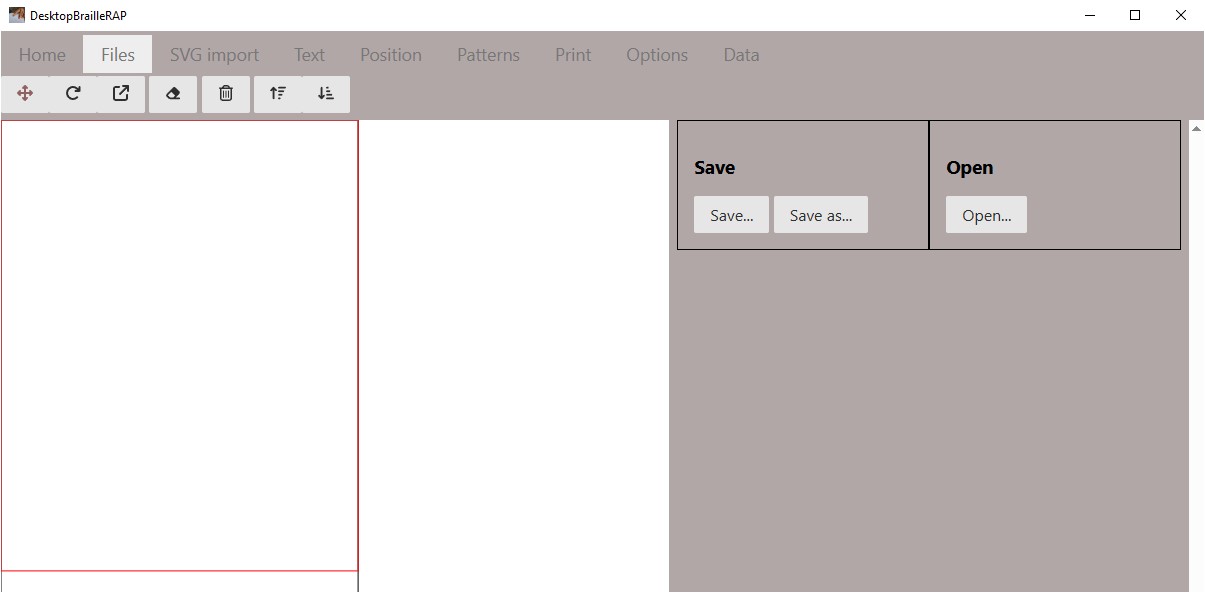
Button Save
Save the active composition using the active file name.
Button Save as…
Saves the active composition by asking a file name using the file selection dialog.
Button Open
Opens the selected composition file by asking for the file name using the file selection dialog.
SVG Import
Introduction
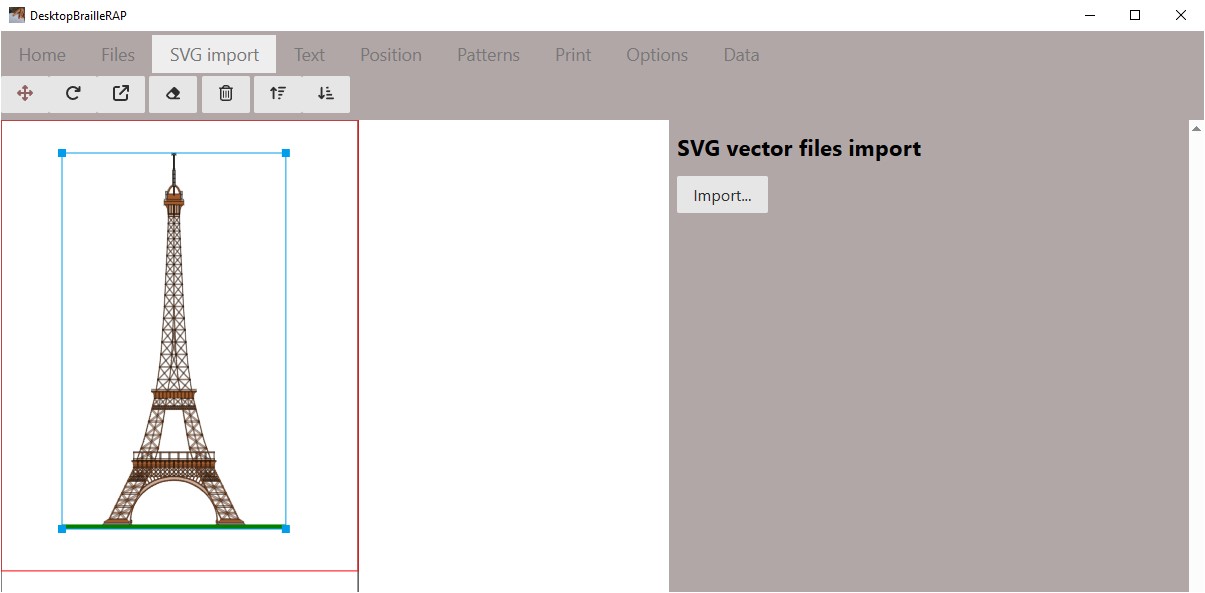
Clicking on the “Import SVG” option allows you to import an SVG file into the composition. The SVG file is imported as a block and can be moved, resized, reoriented, deleted.
Button Import
The “Import” button displays the file selection dialog. Select the SVG file you want to include in the composition and click the “Open” button. The SVG file is imported as a block and appears in the composition on the left side of the page.
Text
Introduction
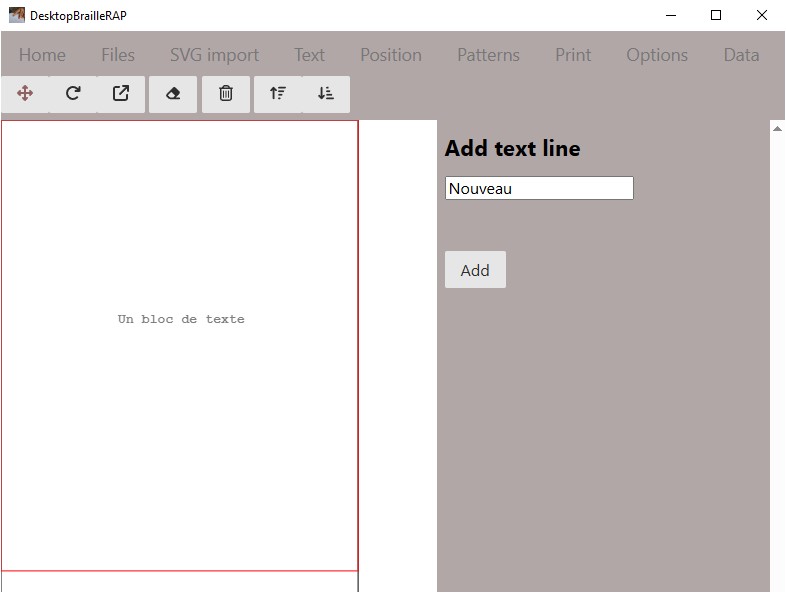
Clicking on the “Text” menu displays a page related to the creation of a text block.
Button Add
The Add button allows you to add a text block to the document. The text is added as a block on the page visualization in the left part. This text block can be moved and oriented. At the time of printing, the text will be transcribed in Braille. Text blocks are not resizable because Braille is always of unique size.
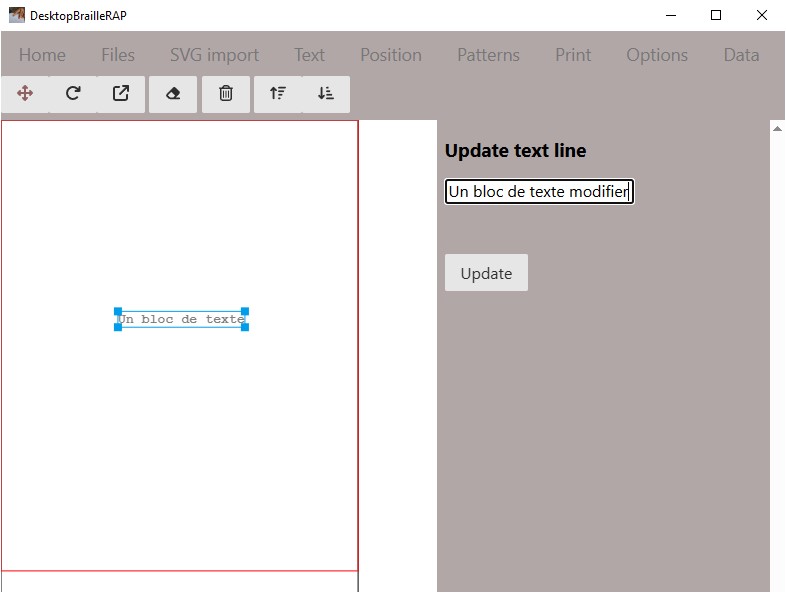
Button Modify
By selecting a text block in the visualization on the left side, you can modify the text by modifying it in the input area and using the Modify button
Position
Introduction
Clicking on the “Text” menu displays a page related to blocks position modification.
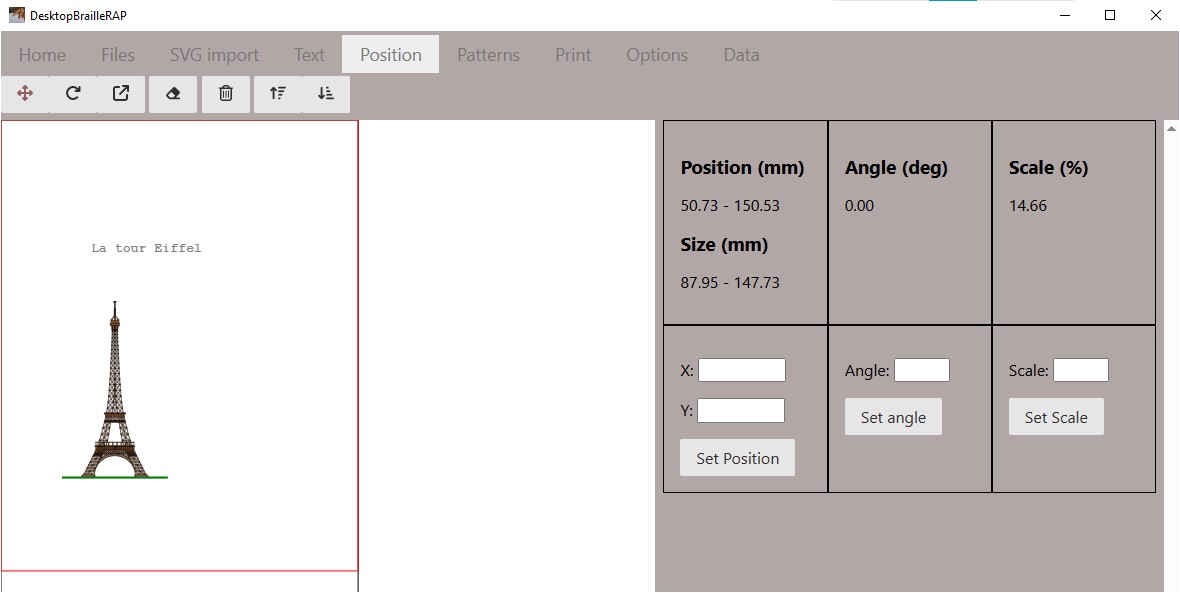
Usage
Select a block in the visualization on the left side. The form on the right then displays the position of the block on the document, its size, orientation (angle) and scale in %.
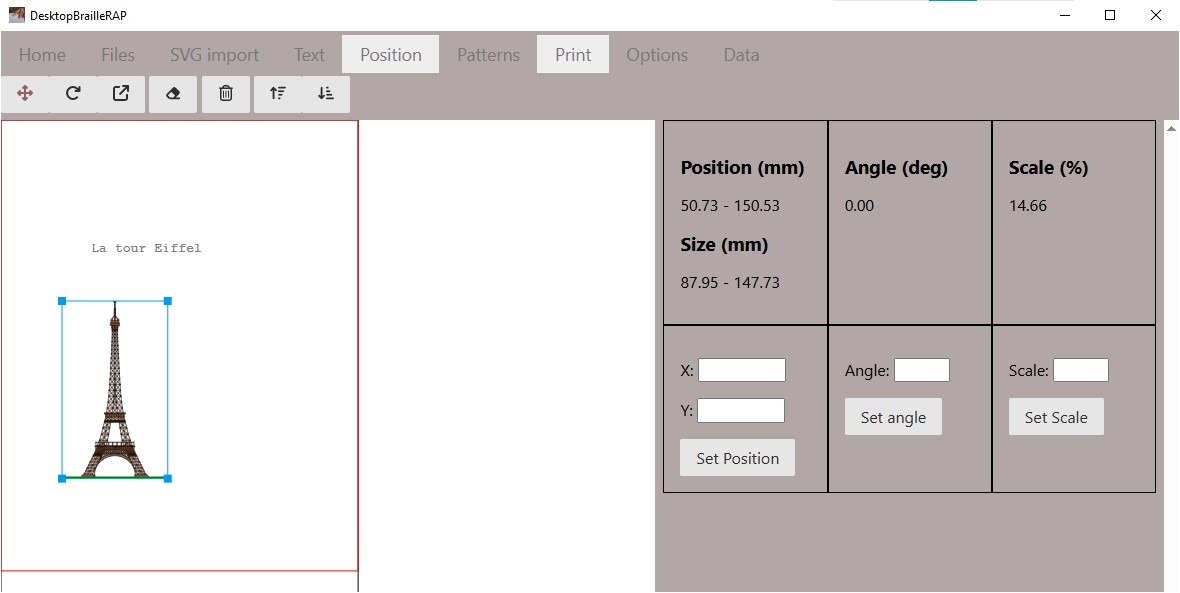
Position
After selecting a block in the left part, enter a new position in the “X” and “Y” fields then use the Set position button to move the block to the desired position.
Angle
After selecting a block in the left part, enter a new angle in the Angle field then use the Set angle button to orient the block according to the desired angle.
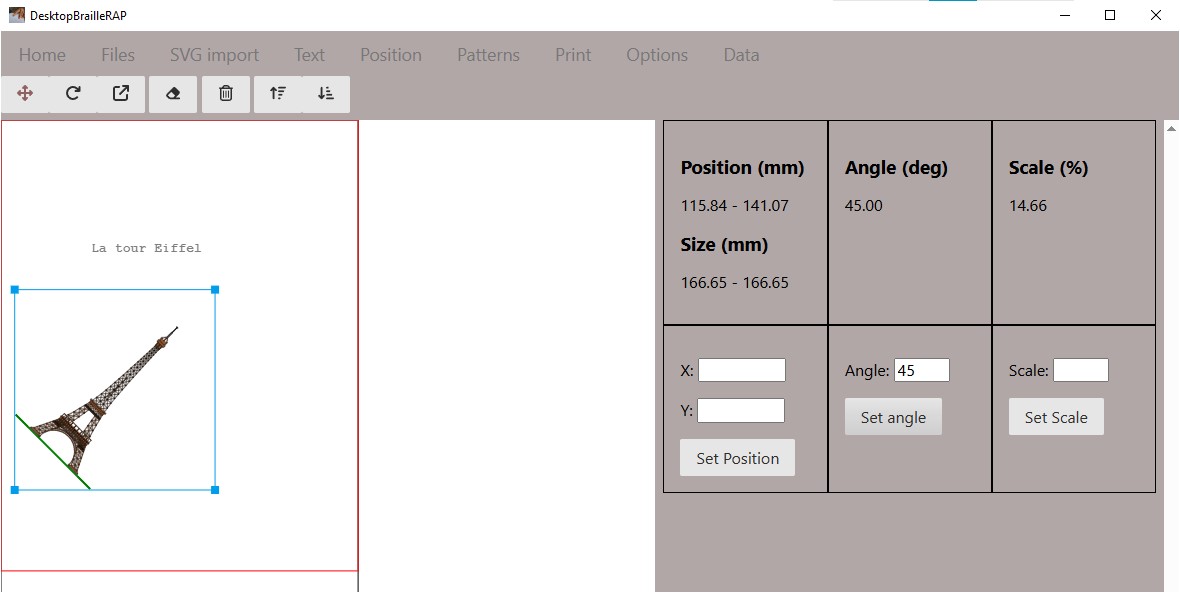
Scale
After selecting a block in the left part, enter a new scale in % in the Scale field then use the Set scale button to modify the size of the block.

Horizontal Alignment
Left Aligns all selected elements to the left edge of the selection.\ Right Aligns all selected elements to the right edge of the selection. *Center* Aligns all selected elements to the horizontal line in the center of the selection.
Vertical Alignment
En Haut Aligne l’ensemble des éléments sélectionnés sur le bord supérieur de la sélection.
En Bas Aligne l’ensemble des éléments sélectionnés sur le bord inférieur de la sélection.
Centrer Aligne l’ensemble des éléments sélectionnés sur la ligne verticale au centre de la sélection.
Distribute
Horizontal Distribue regulièrement les éléments sélectionnés dans l’espace horizontal.
Vertical Distribue regulièrement les éléments sélectionnés dans l’espace vertical.
Patterns
Introduction
Clicking on the “Patterns” menu displays a page related to the association of tactile patterns with a fill color or a stroke color.
Usage
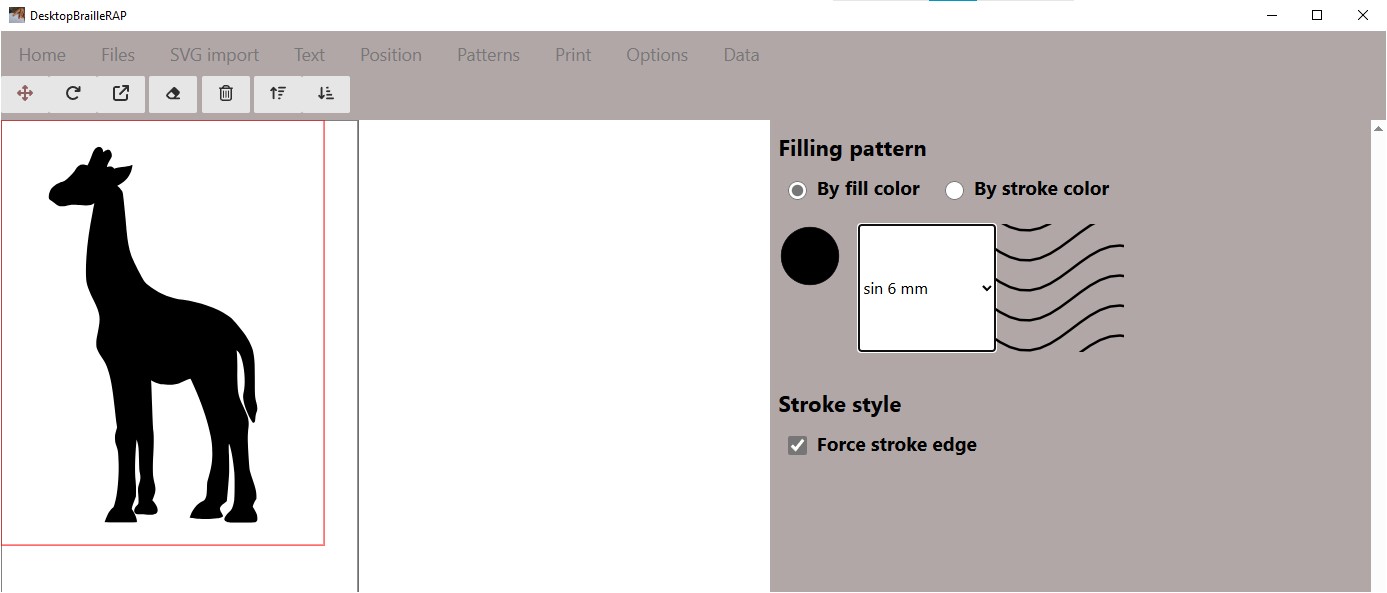
Filling patterns
Filling patterns are used to fill large areas of the drawing, in an imaginative way, filling patterns will replace the fill colors of the drawing. You can choose a selection by stroke color or by fill color. Depending on the selection, the form displays the list of colors used in the composition. For each color, you can select a tactile pattern to associate with.
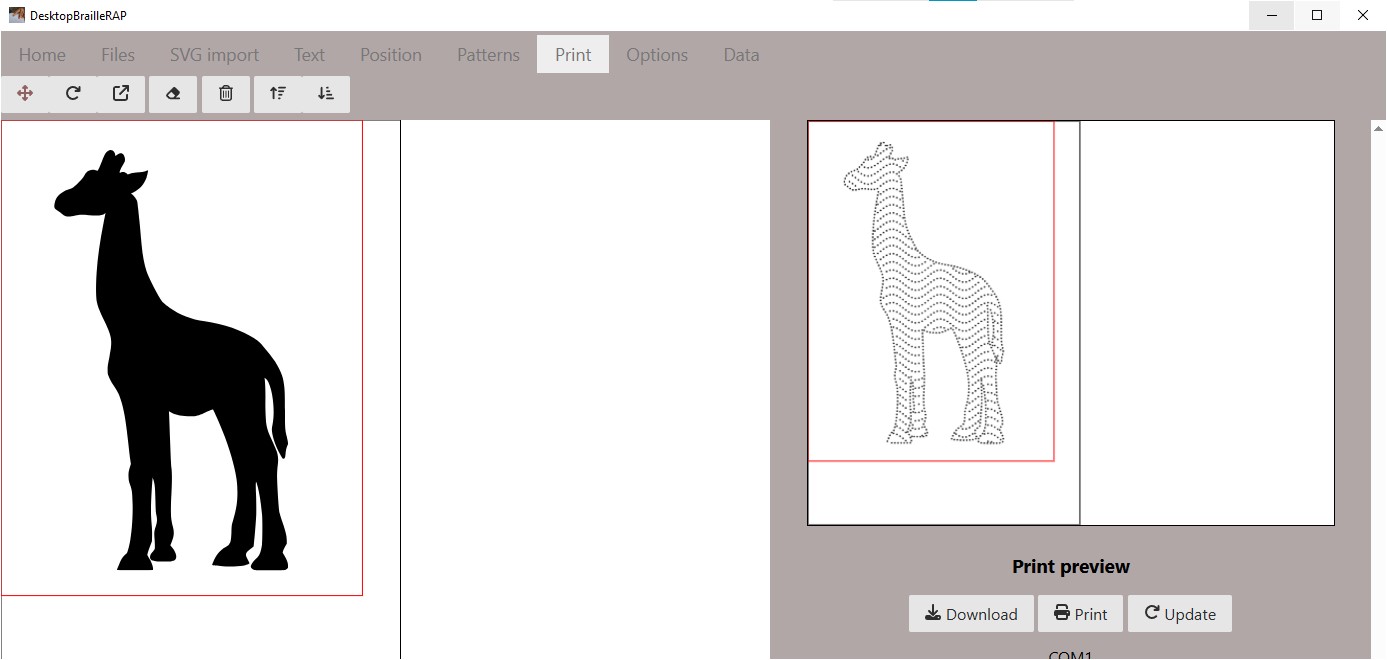
At any time, you can display the result of your selection by clicking on the Print button at the top of the menu.
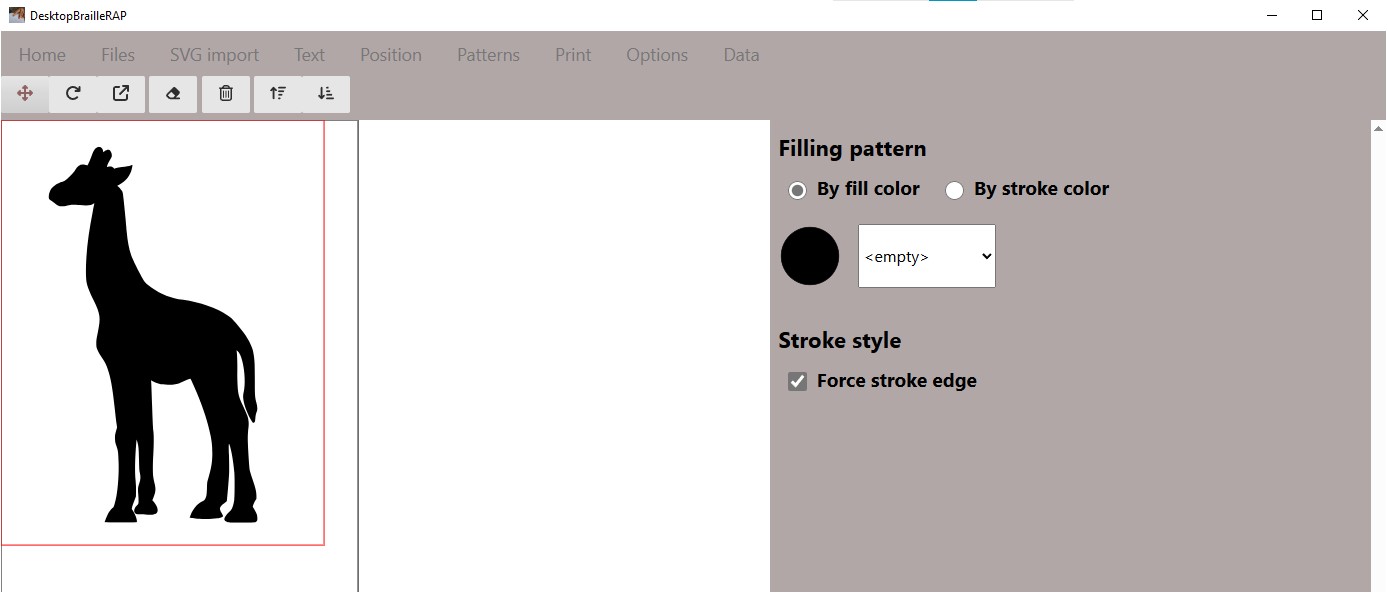
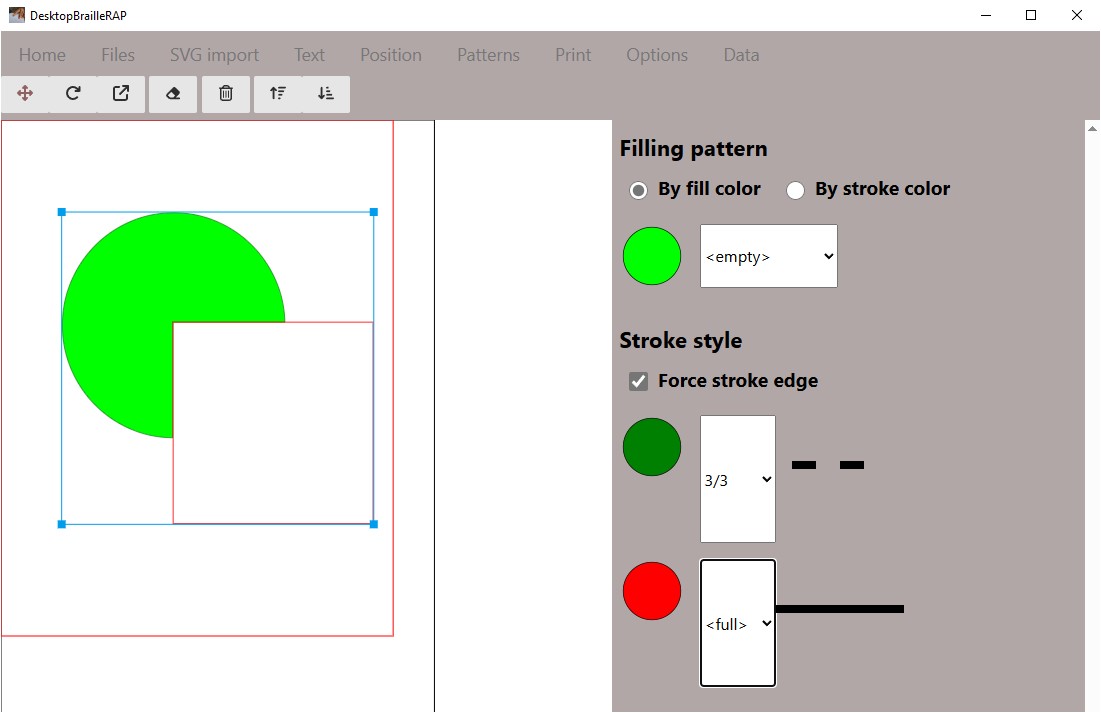
Stroke patterns
Stroke patterns are used to draw contours of shapes, in an imaginative way, stroke patterns will replace the stroke colors of the drawing.
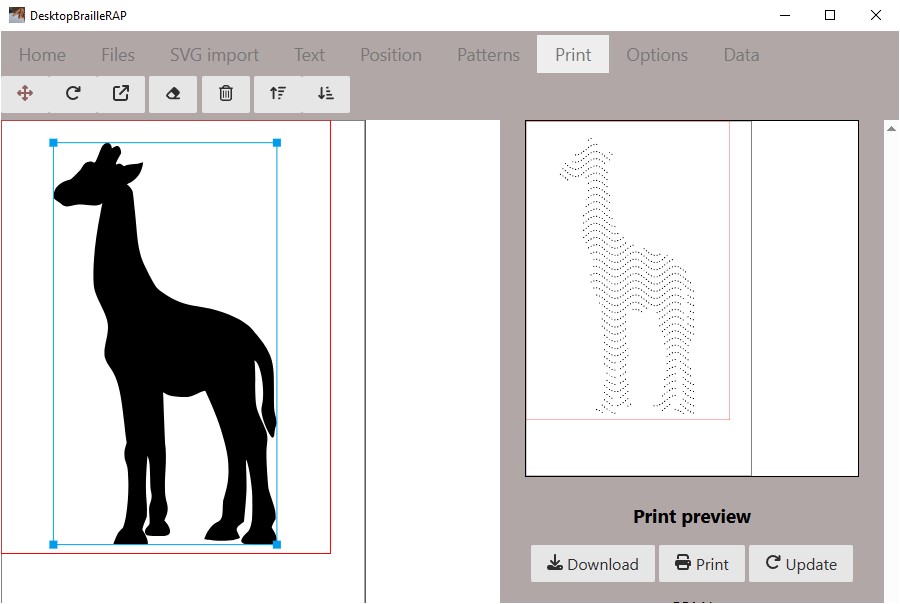
By default the Force stroke edge option is selected, this means that if the shapes contained in the SVG graphic do not have an outline, DesktopBrailleRAP will create a full outline for tactile printing. This is what happens on the Giraffe image in the example above. If on the same example, we remove the Force stroke edge option, the fill pattern is preserved, but there is no longer outer outline on the giraffe.
However, if the shapes contained in the SVG graphic have a color outline, the list of colors used is then displayed in the form. For each color, you can select a line pattern to associate with.
Once again, you can display the result of your selection by clicking on the Print button at the top menu.
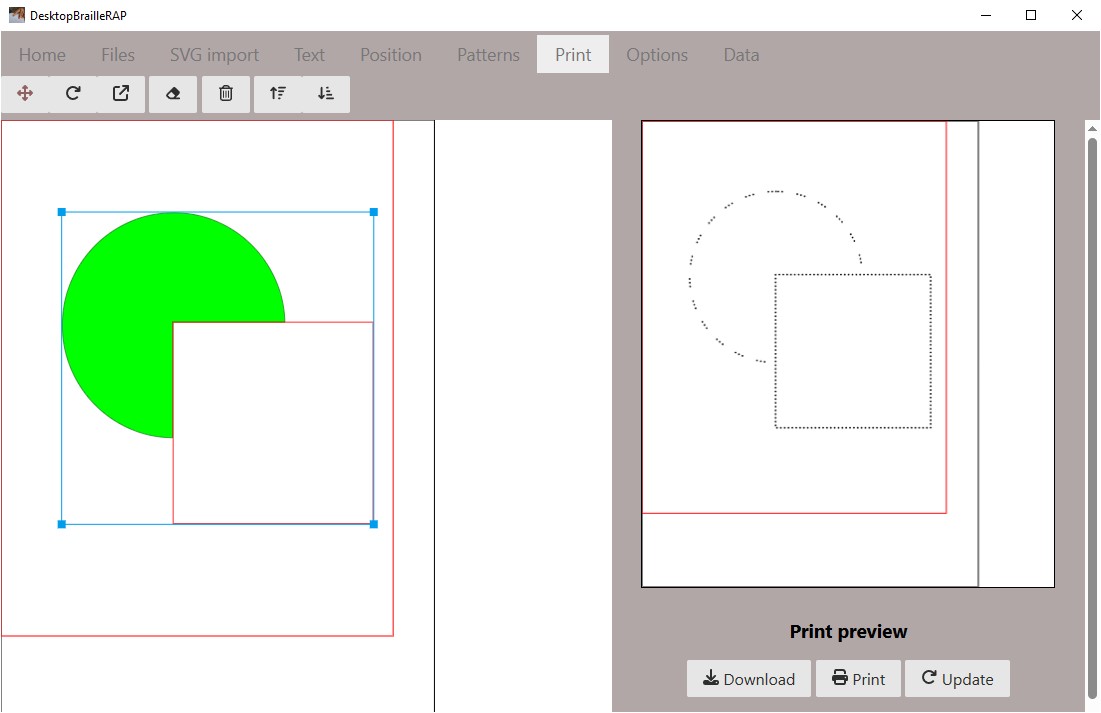
Print
Introduction
Clicking on the “Text” menu displays a page related to the creation of a text block.
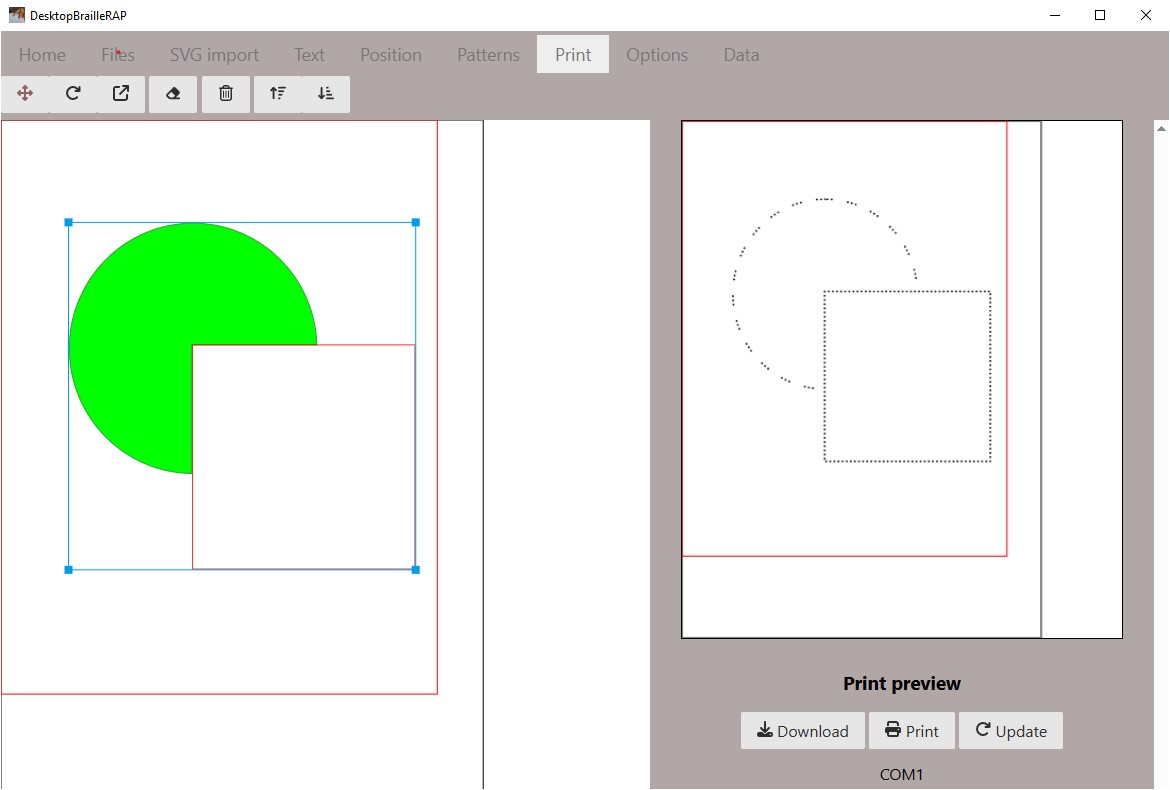
Download
The Download button allows you to save the list of GCODE commands in a file. This GCODE file can then be used with a BrailleRAP to emboss the composition. This allows you to manually modify the GCODE file for testing or customization purposes.
Print
The Print button allows you to send the list of GCODE commands to a connected BrailleRAP via USB cable to emboss the composition visible in the “preview before printing” section.
Update
The Update button allows you to refresh the preview. This is useful if you have modified the composition in the left part of the interface.
Options
Introduction
Clicking on the Options menu displays a page related to the configuration of the different parameters of the application: Paper size, Braille standard, application language …
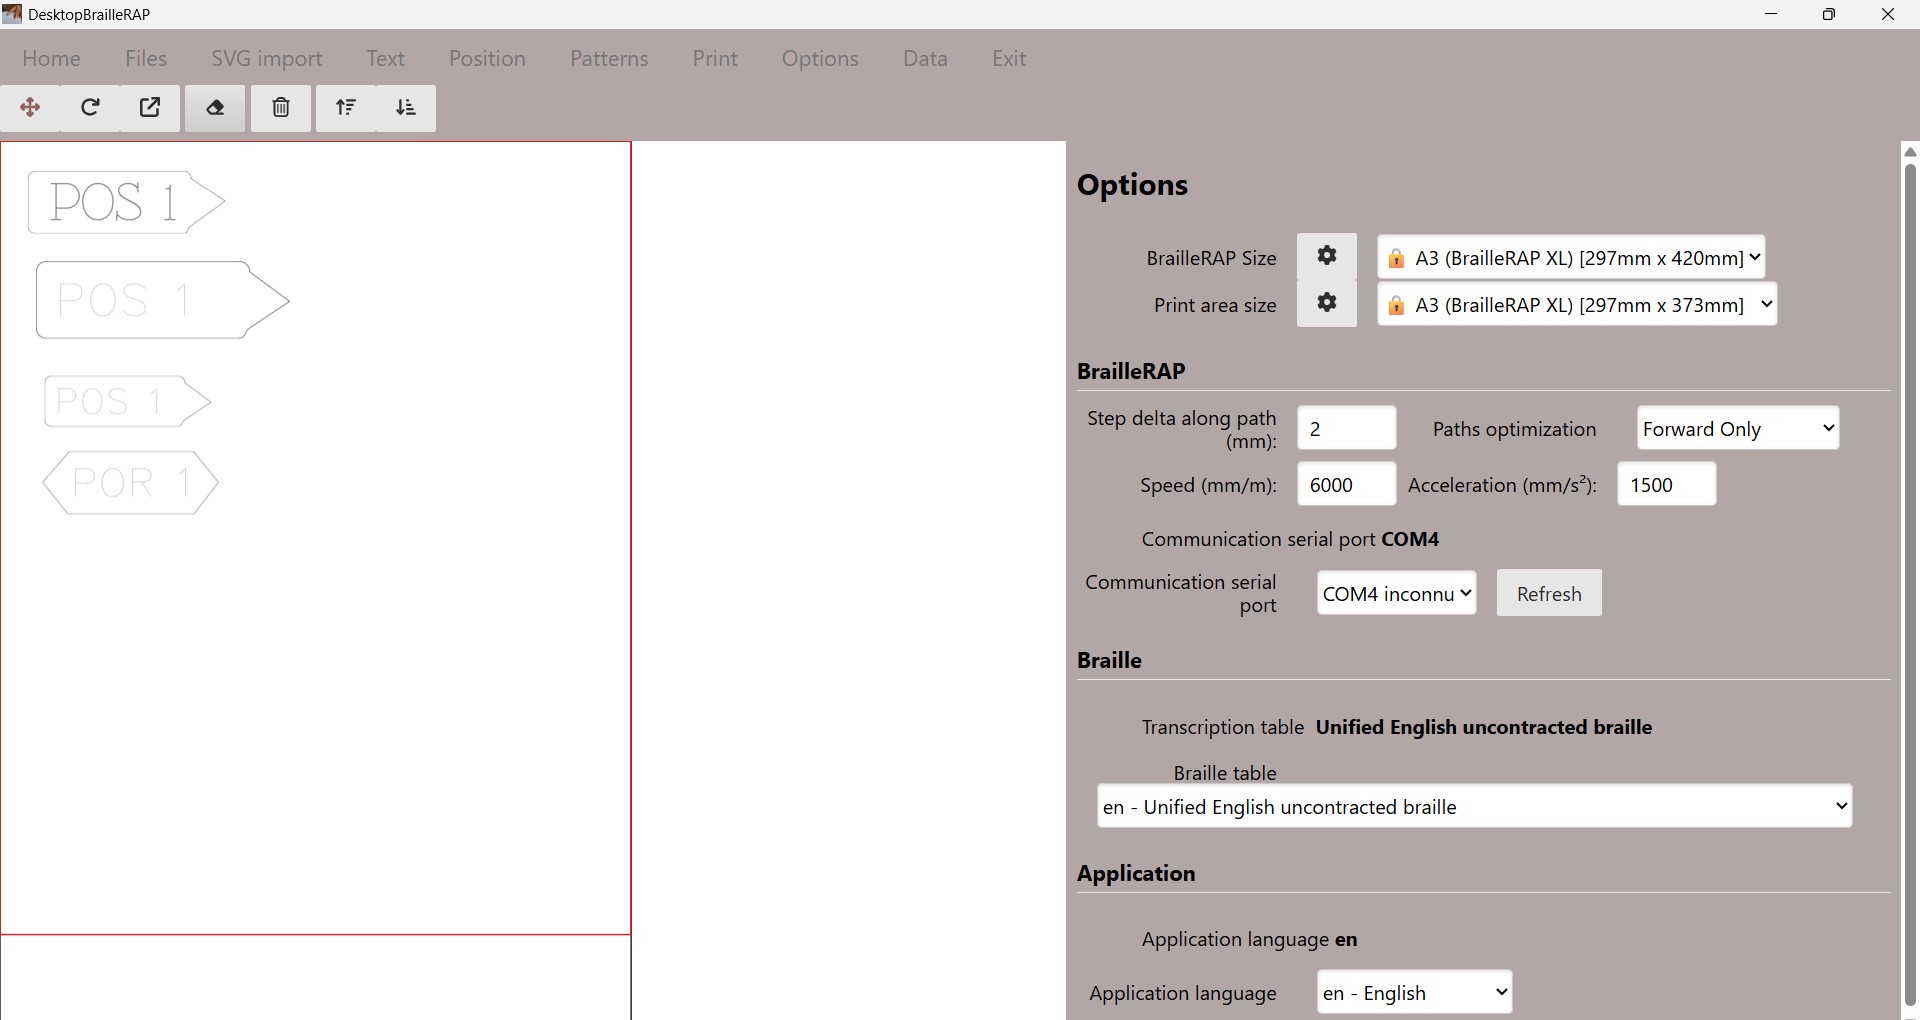
BrailleRAP Size section
BrailleRAP Size
This value designates the maximum theoretical usable size. For a BrailleRAP this value is generally set at 210x297 mm. For a BrailleRAP XL this value is 297x420 mm. The icon  allows you to modify the selection list and add dimensions, either to add a different BrailleRAP size because you have customized it, or to identify different machines because you use several BrailleRAPs (for example yours at home and the one at the fablab).
Updating the Dimensions of BrailleRAP list
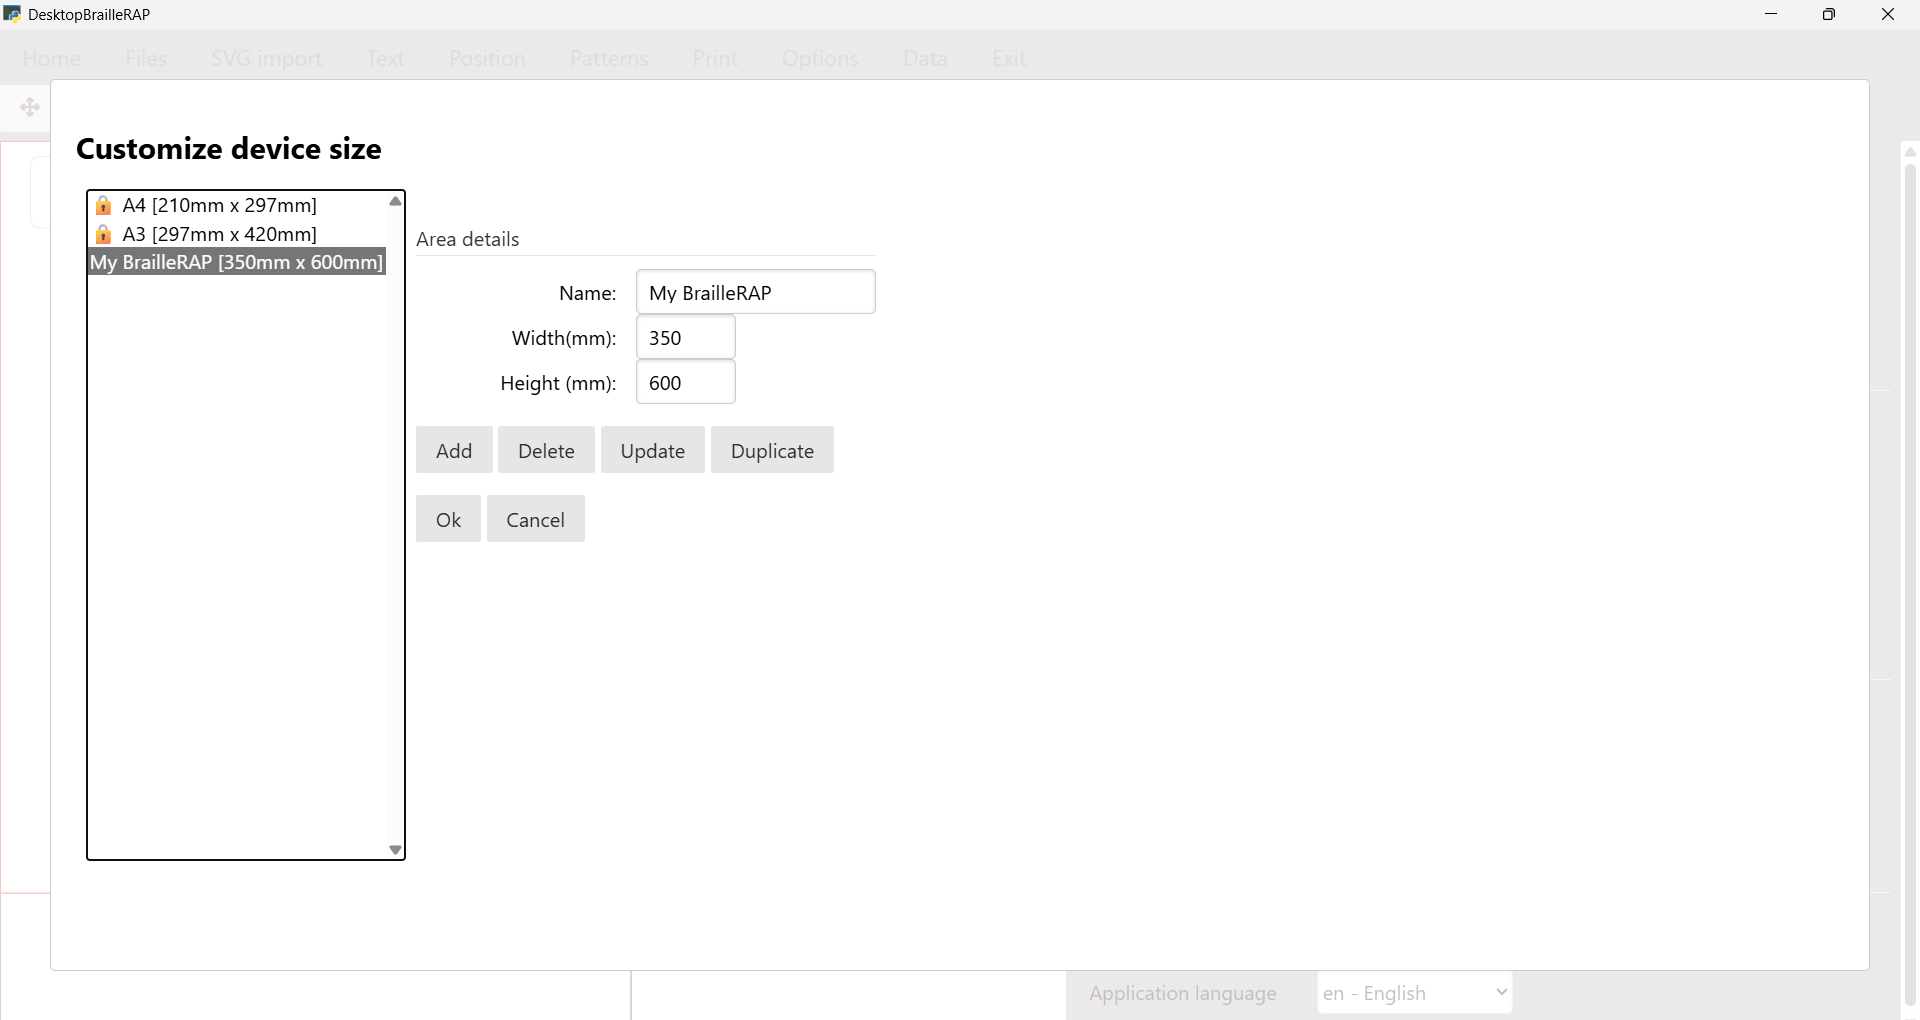
Name
This value is the name you want to be associated with the mm dimensions.
Width
This value is the maximum paper width usable in a BrailleRAP.
Height
This value is the maximum paper height usable in a BrailleRAP.
Add
This button add parameterized size in the list of size.
Delete
This button delete the selected size.
Update
This button update the selectionned size with all informations parameterized in the dialog box.
Copy
This button copy the selected size. This is useful to change a factory locked size.
Ok
This button save the size list and close the dialog box.
Print area size section
Print area size
This value designates the actual usable print dimension. In fact, on the historical BrailleRAP, the print width is rather 190 mm (depending on the limit switch setting). Regarding the height, the offset between the paper feed rollers and the Braille punch results in a margin at the bottom of the page of approximately 47 mm. The icon allows you to modify the selection list and add print area sizes, either to add a different BrailleRAP size because you have modified it, or to identify different machines because you use several BrailleRAPs (for example, yours at home and the one at the fablab).
Updating Print Area Sizes
Name
This value is the name you want to be associated with the mm dimensions.
Width
This value is the maximum paper width usable in a BrailleRAP.
Height
This value is the maximum paper height usable in a BrailleRAP.
Add
This button add parameterized size in the list of size.
Delete
This button delete the selected size.
Update
This button update the selectionned size with all informations parameterized in the dialog box.
Copy
This button copy the selected size. This is useful to change a factory locked size.
Ok
This button save the size list and close the dialog box.
Cancel
This button cancel all your changes and close the dialog box.
BrailleRAP section
Step delta along path (mm)
This value indicates the minimum distance between two points during the embossing of the graphics. This value is generally set to 2.4 mm. You can increase or decrease this value to bring closer or separate the points on the graphics. This parameter has no impact on the spacing of Braille points.
Paths optimization
This option allow you to select the path optimization method. 3 options are available :
Forward Only, this is the slowest option but also the most reliable. Particularly if you have some kind of slippery material like aluminium sheet.
Easy optimization, wth this option the material can go slightly back and forward in the device, this can cause some misalignment issue with slippery material.
Strong optimization, with this option we try to find the shortest path passing thru all the dots on the page. This will create large back and forward moves and will not be reliable on slippery material.
Speed (mm/s)
This value indicates the maximum speed of Braille stylus and paper. Depending on the mechanics quality, the motor drivers used, the reference of the electronic card, and the nature of the embossed support, you can modify these settings.
For difficult and slippery materials, we will rather use a low speed between 800 and 1500 mm/s. For paper, with an 8-bit controller (MKS GEN L) and 8825 drivers, you can go up to 6000 mm/s.
Acceleration (mm/s²)
This value indicates the maximum acceleration of the Braille stylus and paper. Depending on the precision of the mechanics, the motor drivers used, the reference of the electronic card, and the nature of the embossed support, you can modify these settings.
For difficult and slippery materials, we will rather use a low acceleration between 1000 and 2000 mm/s². For paper, with an 8-bit controller, impeccable mechanics and TMC drivers, you can go up to 8000 mm/s².
Communication port
This value indicates the communication port used to communicate with the BrailleRAP. If you have connected the BrailleRAP after launching the software, you can refresh the list of available communication ports by using the Refresh button.
Braille section
Braille table
This section allows you to define the standard used to transcribe text to Braille. Warning there are sometimes several Braille standards for the same language (3 in French for example) and this parameter is independent of the interface language. For example, you can use DesktopBrailleRAP in French and transcribe Braille to the English standard if the document readers use this Braille standard.
Application section
Application language
This value indicates the language used for the application interface. It has no incidence on the text transcription into Braille.
Data
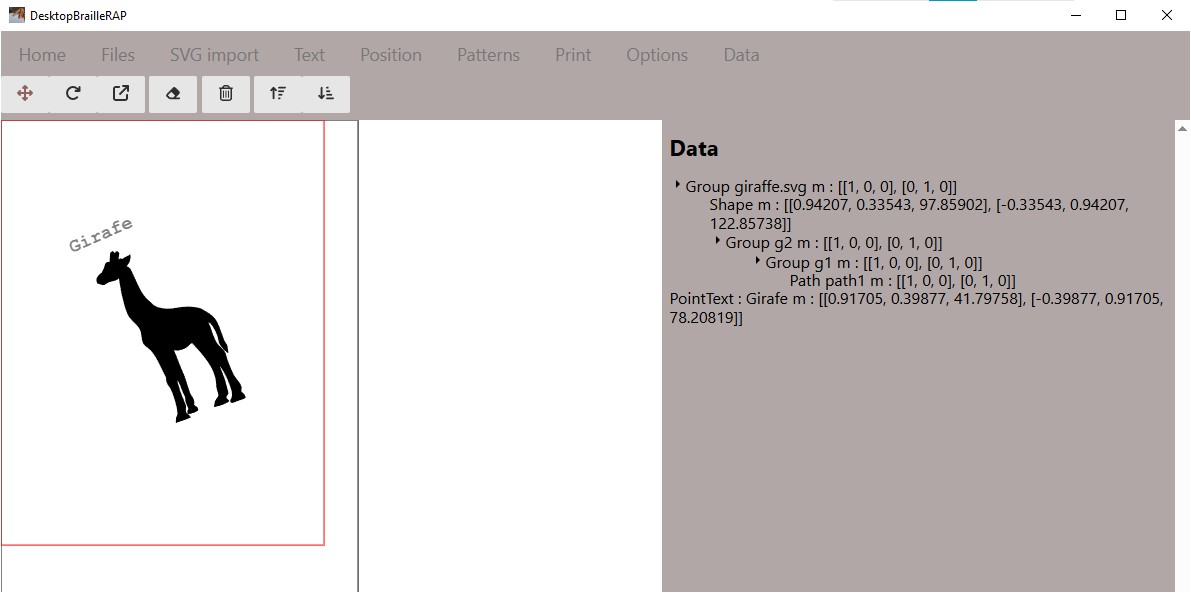
Introduction
Clicking on the Data menu displays a page related to the display of the composition data. You will find an under the form of a tree that reproduces all the elements of the composition.
Automatisation
Introduction
You can automate some process with environment variable.
Environment variables
Variable |
Value |
Description |
|---|---|---|
DESKTOPBRAP_PATTERNS_PATH |
/home/machin/patterns.json |
Full pathname of json file with pattern / color association |
DESKTOPBRAP_SVG_PATH |
/home/machin/machin.svg |
Full path of SVG file to load at app startup |
DESKTOPBRAP_DIRECT_PRINT |
“true” |
Flag to immediate output the loaded file on BrailleRAP |
Usage under Windows
($env:DESKTOPBRAP_PATTERNS_PATH="I:\home\braillraperework\DesktopBrailleRAP\enbosse_files\patterns.json") -and ($env:DESKTOPBRAP_SVG_PATH="I:\home\braillraperework\DesktopBrailleRAP\enbosse_files\12semaines_segmented.svg") -and ($env:DESKTOPBRAP_DIRECT_PRINT="true") -and (.\dist\DesktopBrailleRAP\DesktopBrailleRAP.exe)
Usage under Linux (here Docker)
export WEBKIT_DISABLE_DMABUF_RENDERER=1
export ENBOSSE_PATH=$HOME/Dev/Hli/braillerap/DesktopBrailleRAP.pissard/enbosse_files
export DESKTOPBRAP_SVG_PATH=$ENBOSSE_PATH/12semaines_segmented.svg
export DESKTOPBRAP_PATTERNS_PATH=$ENBOSSE_PATH/patterns.json
export DESKTOPBRAP_DIRECT_PRINT="false"
npm run startview